How to Customize Your Guitar
Guitars are not just musical instruments, they are also works of art. They are a reflection of the guitar player's personality and style. Customizing your guitar is a great way to make it unique and stand out from the crowd. Whether you want to change the color, add some new hardware, or even replace the pickups, there are many ways to customize your guitar. In this comprehensive guide, we will walk you through the steps of customizing your guitar.
The Art of Customizing Your Guitar: A Comprehensive Guide
Step 1: Determine what you want to customize
Before you start customizing your guitar, it's important to determine what changes you want to make. Do you want to change the color of your guitar? Do you want to add new hardware like tuners or a bridge? Do you want to replace the pickups? Knowing what you want to do will help you determine what tools and materials you'll need.
Step 2: Gather the necessary tools and materials
Once you know what you want to customize, it's time to gather the tools and materials you'll need. This can include things like sandpaper, paint, new hardware, and replacement pickups. Make sure you have everything you need before you start working on your guitar.
Step 3: Prepare your guitar for customization
Before you start customizing your guitar, you'll need to prepare it for the changes. This can include things like sanding down the body if you're changing the color, or removing old hardware if you're adding new pieces. Make sure you're careful when working with your guitar to avoid damaging it.
Step 4: Make the customizations
Now it's time to make the customizations! This can involve painting your guitar, adding new hardware, or even replacing the pickups. Make sure you follow any instructions that come with the materials you're using and take your time to ensure that everything is done correctly.
Changing the Color
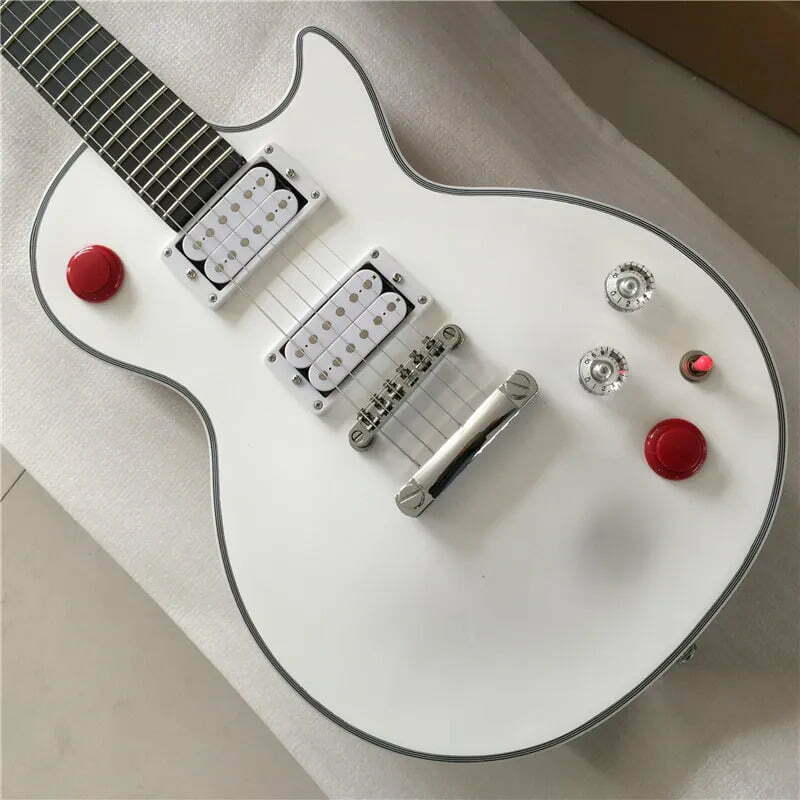
One of the most common customizations is changing the color of your guitar. You can choose any color you like, from classic black or white to bright neon colors. Here are some steps to help you change the color of your guitar:
- Remove all hardware and electronics from your guitar.
- Sand down the body of your guitar until it is smooth and free of any old paint or finish.
- Apply a coat of primer to prepare the surface for painting.
- Apply several coats of paint until you achieve the desired color.
- Once the paint is dry, apply a clear coat to protect the finish.

Adding New Hardware
Adding new hardware is another great way to customize your guitar. You can choose from a variety of hardware options like tuners, bridges, and knobs. Here are some steps to help you add new hardware to your guitar:
- Remove the old hardware from your guitar.
- Choose the new hardware you want to install.
- Measure and mark where the new hardware will be installed.
- Drill holes for the new hardware.
- Install the new hardware according to the manufacturer's instructions.
Replacing Pickups
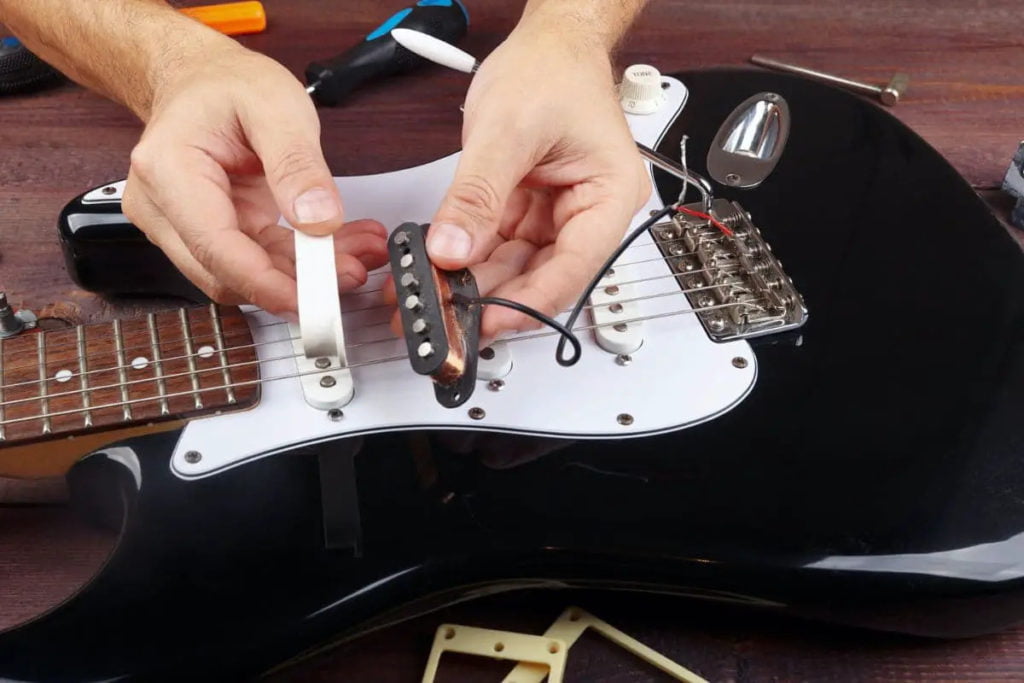
Replacing pickups is a more advanced customization, but it can greatly affect the sound of your guitar. Here are some steps to help you replace your guitar's pickups:
- Remove all hardware and electronics from your guitar.
- Remove the old pickups from your guitar.
- Choose the new pickups you want to install.
- Install the new pickups according to the manufacturer's instructions.
- Reassemble your guitar.
Step 5: Test Your Guitar
Once you've made the customizations, it's important to test your guitar to make sure everything is working properly. Play around with it and make any necessary adjustments. Remember to tune your guitar to have the best tuning after customizing.
Conclusion
Customizing your guitar is a great way to make it unique and reflect your personal style. Whether you want to change the color, add some new hardware, or even replace the pickups, there are many ways to customize your guitar. By following these steps, you can create a unique instrument that reflects your personality and sounds great. Remember, take your time and be patient throughout the process – it will be worth it in the end!


