How To Restring An Acoustic Guitar
Restringing a guitar is essential to ensure proper sound quality. If your acoustic guitar strings buzz, sound blunt, or can no longer hold their tune, this may be a sign that it's time to replace the old strings. In this lesson, I'll guide you through how to change your acoustic guitar strings.
Step 1: Gather the tools
You will need to prepare the following equipment to restring your acoustic guitar, including:
- A pack of strings
- A string winder
- Wire cutters
- A digital tuner or a guitar tuner app like Guitar Tunio
- A guitar cleaner and cloth for cleaning
Step 2: Loosen the strings and remove
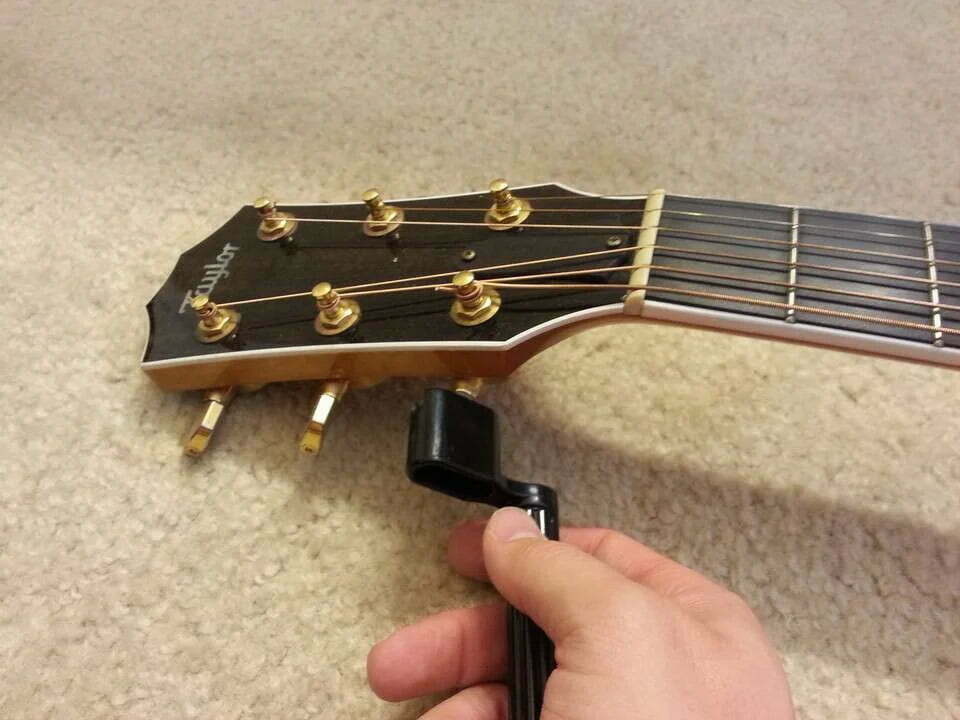
Start unwinding by turning the tuning pegs to loosen the tension on the strings and remove the old strings from the tuning pegs. Work from the thickest to thinnest.
Step 3: Remove the strings from the bridge
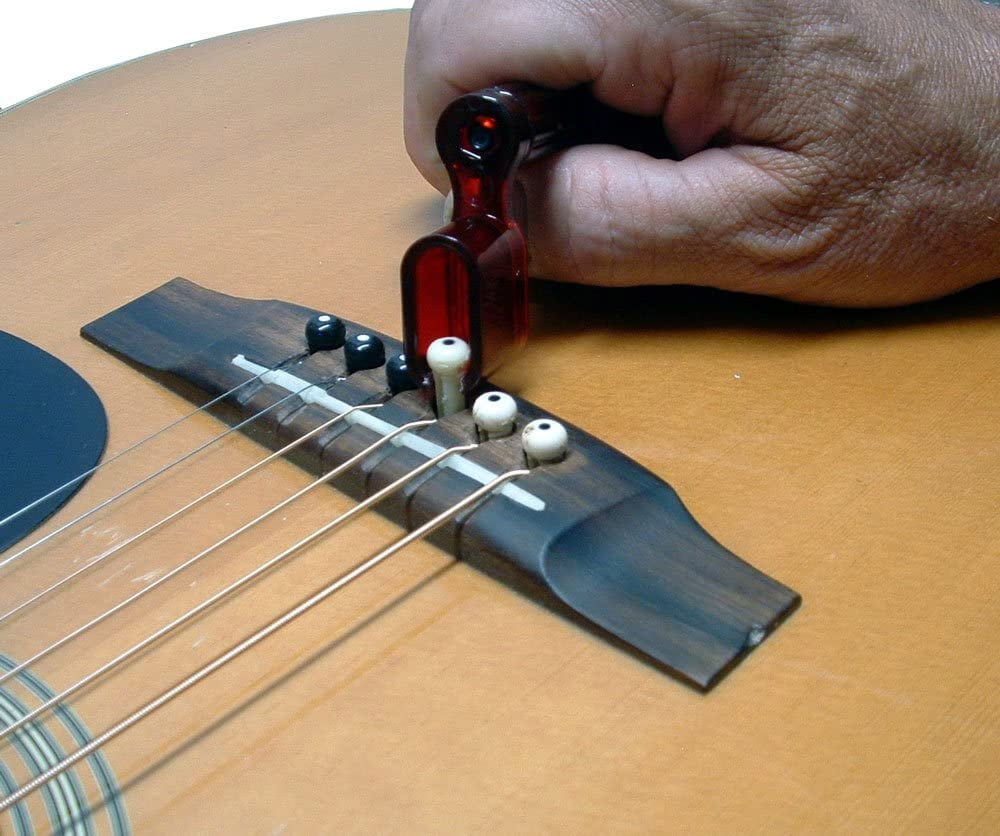
Use the string winder to remove the bridge pins and take the strings off the bridge.
Step 4: Clean your acoustic guitar

After removing all of the old strings, you should use this opportunity to clean your guitar. Use the guitar cleaner and cloth to clean the body and get off the dust on the fretboard, headstock, and near the bridge.
Step 5: Identify the strings

Grab your new pack of strings and take a close look at what order the strings go in and this is crucial to restringing guitar correctly. Each brand of strings uses different legends to help users identify which string is which.
Step 6: Place the strings in the bridge
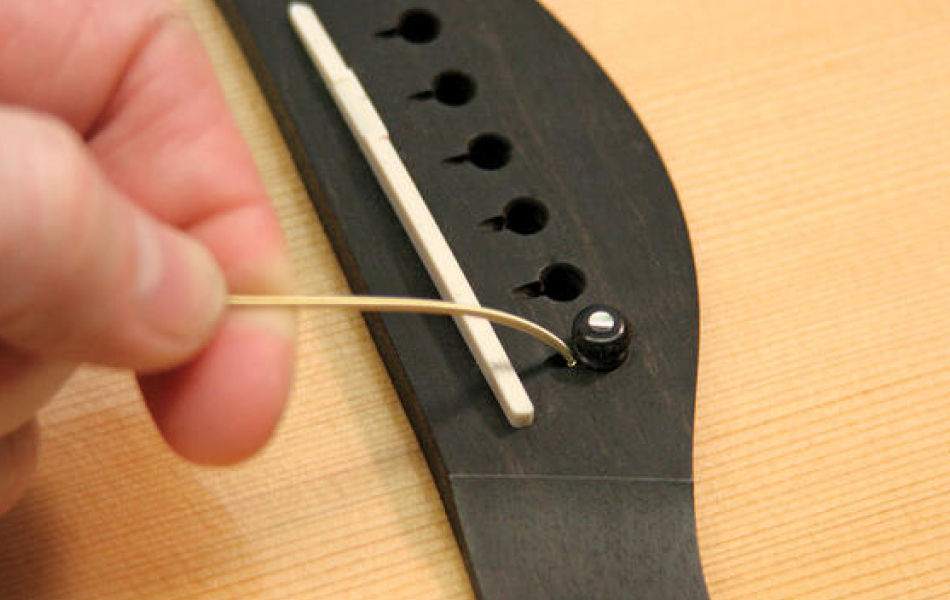
Take the strings out of the package. Place the ball-end of the strings through the bridge's holes in the correct order. Manipulate one by one, push the bridge pin down and pull up on the ball-end until it catches. Pull slightly on the string to verify that it's in place.
Step 7: Wind the strings
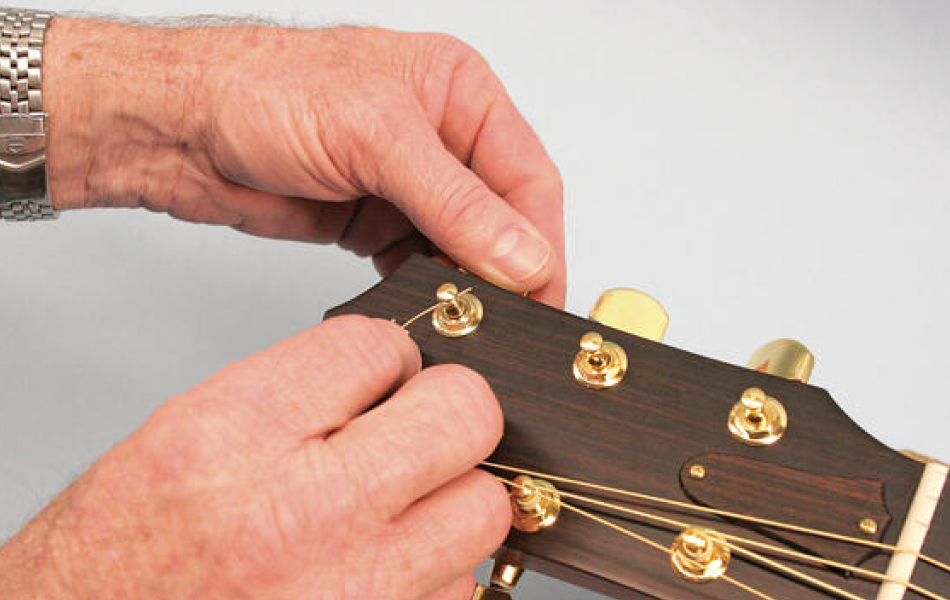
Lightly pull the low E string up the neck and put the string through the hole in the middle of the tuning post. Then, pull the string tight that makes sure it is in the correct nut slot. While tightening the string, use your other hand to create slack for the string. Turn the tuning peg by hand or use the string winder to wind up the string. Wrap the string around the tuning post twice. Use the wire cutters to clip off the excess string.
Repeat for the 5 remaining strings.
Step 8: Tune the strings

Use the Guitar Tunio app to tune your strings. It's available on App Store and Google Play, check it out now!
That's all. Good luck!