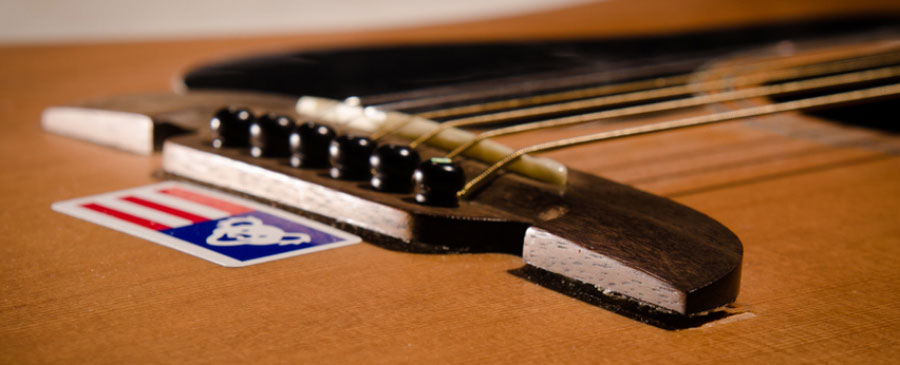
How To Fix A Loose Guitar Bridge
A loose guitar bridge is one of the seemingly serious problems with guitarists, but in fact, repairing it is not as complicated as you think. Let's find out the cause and how to fix a loose guitar bridge through the following article.
What causes a loose guitar bridge?
There are 3 main reasons why the bridge is easily pulled out of the guitar body: the quality of the glue is not guaranteed, the steel strings are installed for the classical guitar, and the weather is dry.
In particular, the installation of steel strings for classical guitars is the most obvious. The reason is that many beginners buy classical guitars to learn to play, once they know how to play, they want to replace the nylon strings with steel strings so that the sound is better and more resonant without switching to acoustics.
How to fix a loose guitar bridge
Step 1: Remove the bridge
Take the strings off the bridge, then place a heating pad on top of the bridge for a minute to loosen the existing glue. Once the bridge has become loose, use a blunt putty knife and gently remove the bridge.
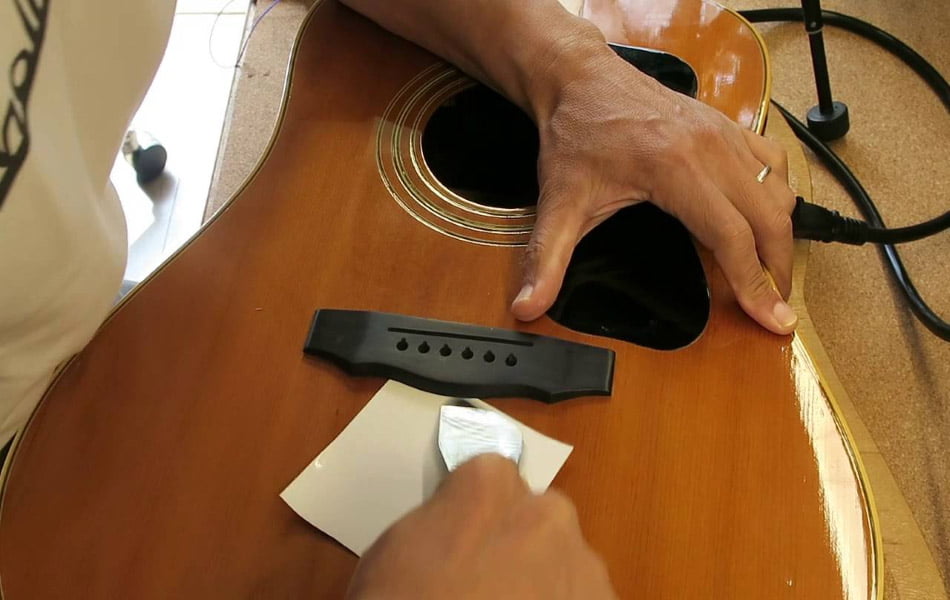
Step 2: Remove the old glue and clean the dirt
Because the underside of the bridge and the contact point on the body will still have old glue or dirt, you need to use sandpaper to clean it. If you don’t remove the old dried glue, when you glue your bridge to the guitar, it won’t seal and you'll have to re-glue it all over again.
Step 3: Mark the bridge to ensure that the bridge is replaced correctly
It is extremely important to line your bridge up properly before your glue it down because if you don't place your bridge in its correct place, it will throw your string tension off and ruin your guitar's intonation.
Use a ruler to measure and mark the centerline of the bridge on the body of the guitar and the front side of the bridge. This ensures that the bridge is perfectly in its place.
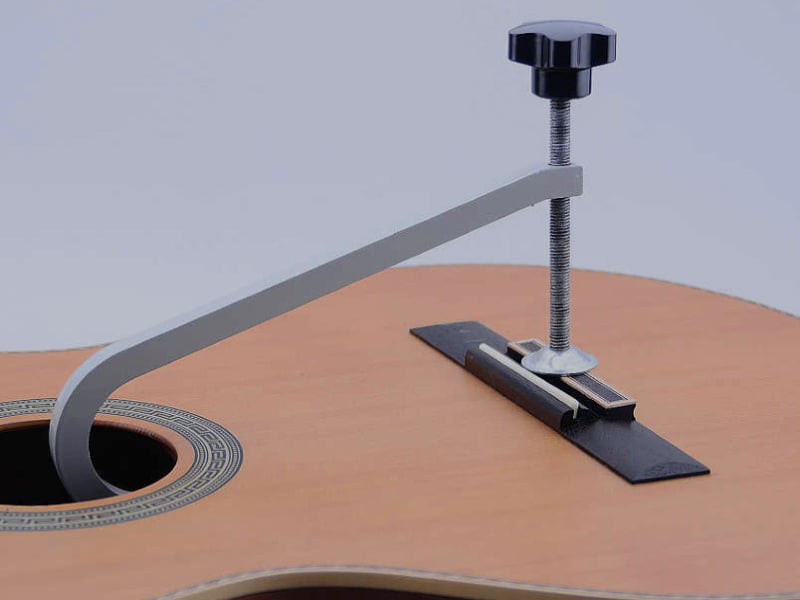
Step 4: Use a deep C-clamp to clamp the bridge in place before applying any glue
Once the bridge and the body are completely clean, you should clamp them together without any glue. You can use a deep C-clamp capable of fitting through the soundhole of your guitar and clamping the bridge down tightly. Check the fit before you put glue on the bridge to make sure it'll work. You will also want to use a caul, which is simply a piece of wood that you lay between the braces of the clamp and the bridge itself. The caul distributes the pressure of the clamp more evenly so you can apply enough pressure to set the glue without damaging the bridge.
Step 5: Glue the guitar bridge
Apply a thin layer of wood glue just enough on the body and clamp the bridge down onto the guitar in the same manner as you did during the trial. This ensures that the bridge is fixed properly. Tighten down the clamp until some glue starts squeezing out.
Step 6: Wipe the excess glue and wait for the glue to dry completely
Use a cotton swab or rag to clean off any excess glue squeeze it out and wait until the glue is completely dry.
The drying time of milk glue can be from 24-48 hours depending on the type of glue or the weather. During this time, do not move the bridge and the instrument.
In short, fixing a loose guitar bridge is not difficult, it’s important that you know the cause and minimize the incident to not interrupt your practice and playing.
Guitar Tunio is one of the best guitar tuner apps on the market today. The guitar tuner offers an incredible tuner with a variety of tuning options for string instruments. It also features a chromatic tuner for advanced ones and a digital metronome to practice timing and rhythm. Plus, you can find an enriched chord library with over 1000 guitar and ukulele chords in the Guitar Tunio app. It is available on App Store and Play Store, check it out!